Recipes / Sweets
Very Berry Strawberry Yogurt Cake
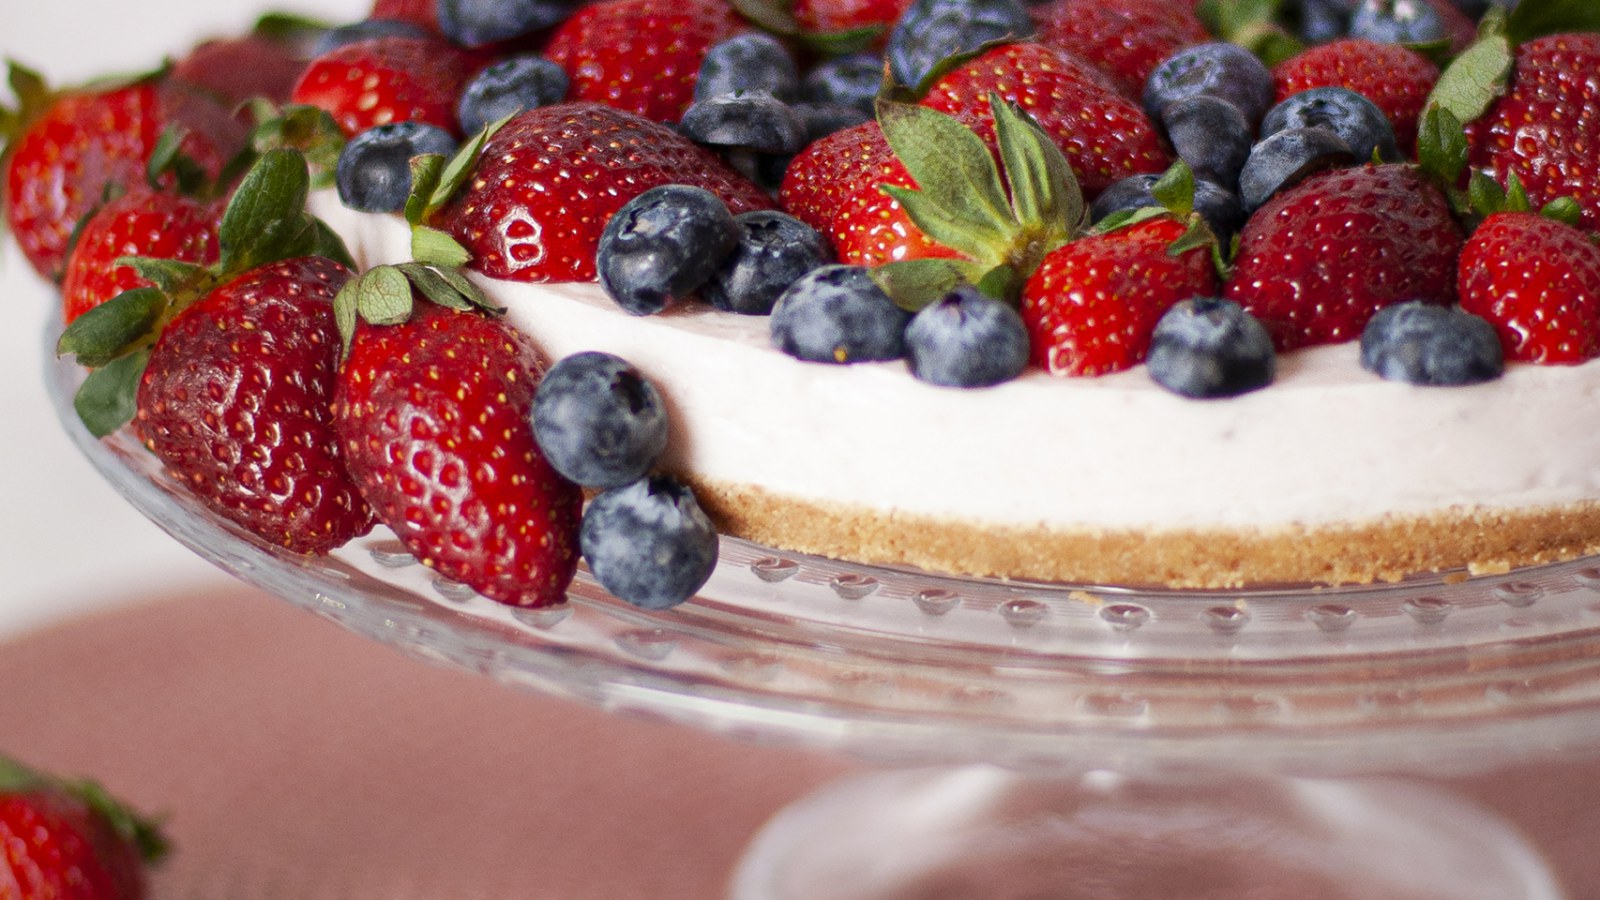
With summer just around the corner we’re all looking for quick, easy and light options to put on our table that are still pleasing to the eye and taste equally as good. If you’re looking for a cake with that criteria then I’ve got just the right kind of recipe for you right here! This no-bake Strawberry Yogurt Cake has been a favorite in my family for quite some time since you can eat it a little more than any other cake and it doesn’t really have any added sugars, just some already in the flavored yogurt.
With this cake, there are some options and variations you can choose between before you start making it. I’m giving you my favorite variation from this cake that I like the best. Also, you should make the cake minimum of four to five hours in advance since it takes some time to set, adding some time for decorating it.
Without further ado, let’s get to cake making! (can’t really call it baking, since there’s no real baking going on, ha)
Very Berry Strawberry Yogurt Cake
Ingredients
Method
- Prepare a 24 cm open-bottom cake tin with parchment paper. First cover the base with the paper, then using a bit of butter make some rounds on the sides and cover with strips of parchment paper — this way you’ll get the cake out more easily and the sides will look neater.
- In a medium-size bowl, crush the biscuits and mix them with the melted butter. Press the biscuit mix into the cake tin, smooth it out with a spoon and put it into the fridge.
- Prepare the jelly or gelatin, whichever you prefer to use. I prefer flavored since it adds a bit stronger flavor and mixes better with the yogurt. Before you mix the gelatin with the yogurt, make sure they are at an even temperature — if the gelatin is too hot and the yogurt too cold, the gelatin will clump and become somewhat nasty.
- Mix the two until evenly combined. Slowly pour the yogurt mixture onto the biscuit base and let it set in the fridge for at least four hours — overnight is best.
- Decorate the cake with lots of berries and serve with joy!
Notes
** You can use regular gelatin or gelatin leaves instead of flavored jelly powder.